Before making a mold or cast, the model or mold has to be prepped for the job. This includes applying a coat of release agent as this will aid in easy demolding. The same goes for body molds as well.
There are many intricate minutiae involved in making a mold or cast. It is not just about the choice of material or technique; the artist also has to consider various other factors and requirements that can affect everything from the details captured in the mold to the quality of the final cast.
One such detail is the use of a release agent. The name is self-explanatory – a release agent keeps the mold from sticking to the model or the cast from adhering to the mold, thus facilitating easy demolding. Household products like petroleum jelly or paraffin wax can serve well as a release agent, however, for best results, it is advisable to use a professional mold release.
Keep in mind that there are certain materials like silicone rubber that do not stick to anything except itself. Therefore, it is commonly perceived that a release agent is not required. However, it is still better to use one as this will significantly increase mold life!
Before applying the release agent, first clean the model or mold properly to prevent any kind of unevenness in the mold or cast later on. The model or mold should be sealed if needed and allowed to become completely dry.
Spray the release agent uniformly but sparingly to cover the entire surface (interior or exterior). Alternatively, the release agent can even be applied with a brush. For best results, hold the can at a constant distance from the surface (12” to 18” is recommended) and ensure that the same pressure is applied. Do not go overboard, as too much release agent may cover the details and lead to irregular distortions. This can also end up causing stains or air bubbles.
Allow the release agent to dry for 10 minutes or so before applying/pouring the mold making or casting material. In case an in-mold paint is to be used, it should be applied after the release agent dries. Once cured, the mold or cast can be easily removed by loosening around the edges.
EnvironMolds is the best resource when it comes to everything to do with how to make molds. It provides two great mold release options –
Then there is MoldEZ Hair and Mold Release, a water soluble release agent that prevents alginate from tangling in the hair when making body molds.
One such detail is the use of a release agent. The name is self-explanatory – a release agent keeps the mold from sticking to the model or the cast from adhering to the mold, thus facilitating easy demolding. Household products like petroleum jelly or paraffin wax can serve well as a release agent, however, for best results, it is advisable to use a professional mold release.
Keep in mind that there are certain materials like silicone rubber that do not stick to anything except itself. Therefore, it is commonly perceived that a release agent is not required. However, it is still better to use one as this will significantly increase mold life!
How to use?
Before applying the release agent, first clean the model or mold properly to prevent any kind of unevenness in the mold or cast later on. The model or mold should be sealed if needed and allowed to become completely dry.
Spray the release agent uniformly but sparingly to cover the entire surface (interior or exterior). Alternatively, the release agent can even be applied with a brush. For best results, hold the can at a constant distance from the surface (12” to 18” is recommended) and ensure that the same pressure is applied. Do not go overboard, as too much release agent may cover the details and lead to irregular distortions. This can also end up causing stains or air bubbles.
Allow the release agent to dry for 10 minutes or so before applying/pouring the mold making or casting material. In case an in-mold paint is to be used, it should be applied after the release agent dries. Once cured, the mold or cast can be easily removed by loosening around the edges.
Where to find?
EnvironMolds is the best resource when it comes to everything to do with how to make molds. It provides two great mold release options –
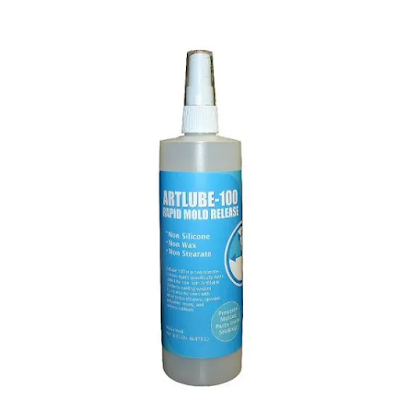
- ArtLube100 is a silicone-based release agent specifically formulated for use with polyurethane molding systems and KastEZ urethane casting system. It can also be used with other polyurethanes, epoxies, polyester resins and silicone rubbers.
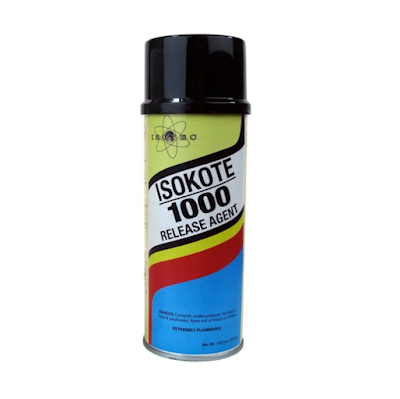
- IsoKote 1000 (formerly Synlube 1000) is another silicone-based release agent formulated for the release of both low and high temperature cured urethanes from metal and plastic molds. It can also be used with epoxies.
Then there is MoldEZ Hair and Mold Release, a water soluble release agent that prevents alginate from tangling in the hair when making body molds.


1 Comment


