Process to Craft Flawless Life Cast


Body casting is a popular type of art in which the human form is replicated in three-dimensional constructions. Full body castings are frequently created by experienced casting artists for theatrical or other aesthetic purposes, such as movie props. These castings are often made with skin-friendly and environmentally friendly mold making materials. Two typical materials used to create the master copy of the subject are alginate and plaster.

Generally, any life casting is completed in three pieces - head, rear and the torso. After separately making each of these parts, they are then seamed with each other through careful and precise techniques. The head is generally the last part to be attached to the cast.

Once removed from the mold, the body casts typically needs elaborate finishing touches.

To give it a semi-gloss, sometimes artists add polyurethane varnish for a pleasant look. Some life casting material kits comes with a specialized form of wax which when polished on the cast gives a marble-like shine. Depending on the need of the casts, the final color or the look can be done.


Playing with Temperatures for Better Resin Casts

The temperature of the resin as well as the room should be on the warmer side to ensure that the resin castings cure properly and are free of bubbles. Following are some tips on how to get the temperature right.

Resins come as a two part system – the resin and hardener (or catalyst) have to be mixed together in the specified ratio to make it workable. Here, it is not only about how the two parts are mixed, but also the temperature at which they are used.

Indeed, the temperature of the resin mix as well as the room will determine the quality of the resin casting!


Manipulating the temperature


Resin cures best in warm and dry environments. In case the resin is too cold, it will become thick and may not mix properly. Moreover, the mixing procedure will tend to trap air which will show up as pesky air bubbles in the cast. The resin also fails to cure properly in a cool room and will turn out soft, bendy or with cloudy streaks.

On the other hand, when the resin, hardener and the surroundings are warm enough, they will support the chemical reaction that is essential for the curing to take place.

So, if the resin and hardener are not warm enough, they need to be heated prior to use. The trick here is to place the bottles in warm water for around 10 minutes before mixing. Do not use too hot or boiling water as it will accelerate the curing, thus shortening the pot time. The resin may start curing even before it has been cast!

Another point to note is that the bottles should be dried properly after removing from the water as any droplets of water that fall into the mix can again affect the curing.

In a similar vein, the temperature of the art studio should be maintained around 70℉ to 75℉. If the space is cooler, it is advisable to turn up the heat in the room and close the door prior to starting the casting process. This will even dry up the room a bit. However, ensure that the temperature stays stable as any drop in the mercury can again delay the curing time of the resin.

Some artists even go as far as warming up the mold with a heat tool to ensure a perfect casting! Another option is to use a ‘hot box’ to keep the air around the curing resin warmer than the temperature of the room. Then again, do not overdo the heat either as the resin will cure too quickly in hot surroundings.

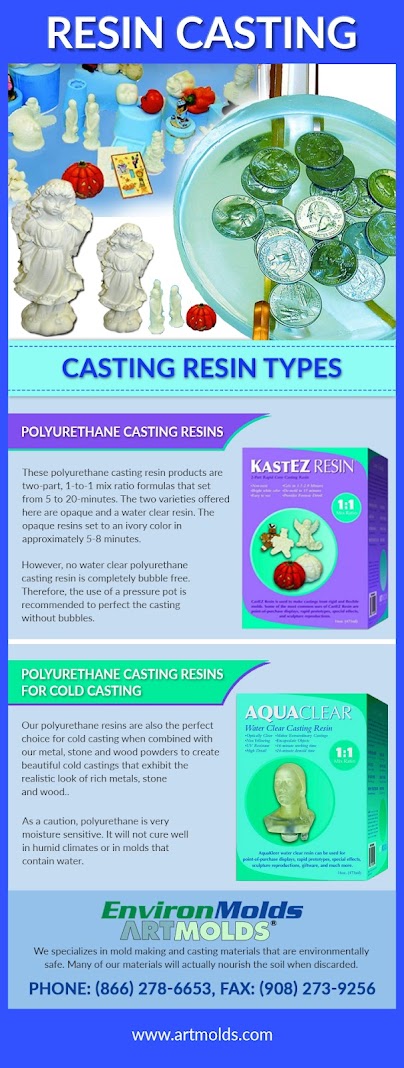
EnvironMolds is a one-stop shop for everything to do with mold making, casting and life casting. It offers top quality materials, supplies and tools including all types of resins and polyurethanes for making exquisite casts. The range covers jewelry resins, clear casting resins and even a special formula that can increase the size of the casting by 160%.